
close
Choose Your Site
Global
Social Media
Views: 0 Author: Site Editor Publish Time: 2026-06-01 Origin: Site


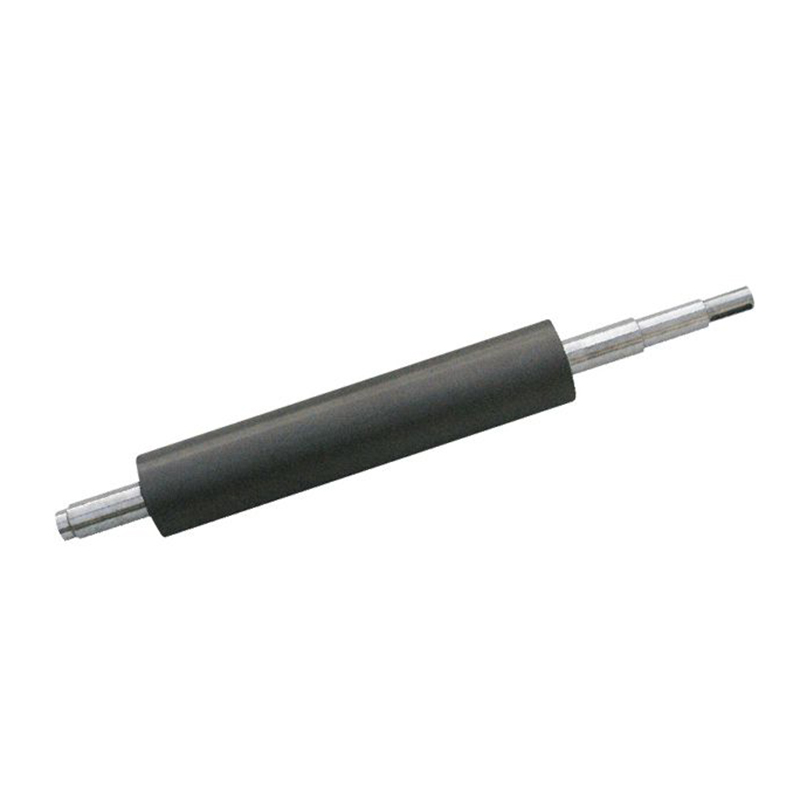
Degrading print quality and increasing press downtime rarely happen in isolation. They almost always point to compromised roller integrity dragging down your entire production line. Delaying replacement to protect short-term maintenance budgets usually backfires. You end up facing excessive make-ready times, wasted substrate, and entirely rejected print runs. Operating a press with worn components forces operators to constantly adjust ink viscosity and pressure settings, creating an unsustainable workflow.
This guide provides a data-driven framework for diagnosing equipment wear accurately. You will learn how to specify exact replacement components and execute the changeover without unnecessary delays. By understanding the physical limits of a flexographic printing roller, you can transition from reactive troubleshooting to proactive press management. We outline the exact steps required to evaluate, procure, and install your next critical press component safely.
Data over calendar: Do not base replacements on time intervals (e.g., "every 8 months"); rely on measurable degradation like a 5-point increase in Shore A hardness or a 15-20% drop in BCM volume.
Precision specification: Choosing between a steel core and a carbon fiber base—or upgrading to a ceramic coated flexographic printing roller—depends entirely on your press speed, run lengths, and vibration tolerance.
The LPI/BCM rule of thumb: If print color is consistently too light, you likely need a higher BCM; if it is heavy or smudging, you need a higher LPI.
Refurbish vs. Replace: Recoating an existing core can save costs and take about 10 days, while manufacturing a new custom roller typically requires a 3-week lead time.
Running press equipment until it catastrophically fails destroys your profit margins. Relying on a basic calendar schedule for replacements is equally inefficient. Time does not dictate wear. Machine speeds, substrate abrasiveness, and ink chemistry drive degradation. You must base your maintenance decisions on measurable data rather than assumptions.
Volume degradation remains the hidden culprit behind most printing failures. Deep clogging and daily wear slowly erode cell volume. A 15% to 20% loss in Billion Cubic Microns (BCM) directly causes poor ink coverage. You will notice fading solid densities on your output. Operators often try to fix this by pressing harder or modifying ink, which only accelerates damage.
You should adopt the Durometer test to track surface degradation accurately. The industry standard involves measuring Shore A hardness regularly. Establish a firm baseline when the component is brand new. Ink rollers require immediate replacement when their hardness increases by 5 points. Water and metering rollers can tolerate a 7 to 10 point increase before they fail. Hardened rubber loses its transfer capability and damages delicate plates.
Listen and look for obvious physical signals. Surface damage often manifests as visible cracks, dents, or bulging deformation along the edges. Abnormal vibrations signal deep internal problems. If you hear rattling or grinding, internal bearing friction has likely compromised the core. Ignoring these auditory warnings often leads to severe gear misalignment.
Different color stations experience vastly different wear patterns. Spot color stations consistently wear out faster than standard CMYK stations. They require highly aggressive solvent usage. Operators also subject them to more frequent, intensive cleaning cycles between custom color runs. You must evaluate these high-friction stations more frequently than your process color units.
Ordering a generic replacement part guarantees subpar results. You must match the physical properties of the core and the surface to your exact production environment. Upgrading your materials often yields massive efficiency gains.
Choosing the right surface material dictates your long-term print quality. A ceramic coated flexographic printing roller stands as the modern industry standard. It provides unmatched longevity and supports extremely high Lines Per Inch (LPI) capabilities. Ceramic resists harsh chemical solvents and withstands daily doctor blade friction. Chrome surfaces remain strictly for budget-sensitive, low-speed, and non-critical print runs where high precision is not required.
Core material selection requires careful evaluation. Steel provides excellent standard stability for conventional operations. It handles heavy loads without flexing. However, carbon fiber significantly reduces rotational inertia. It suppresses harmful vibration on high-speed, long-run applications. If your press struggles with bounce or banding at top speeds, upgrading to a carbon fiber base resolves the issue.
Cell geometry controls how efficiently ink enters and exits the microscopic pockets. When optimizing ceramic anilox roller flexo printing, you must choose the correct cell shape.
Standard 60° Hexagon: This remains the best choice for general stability. It offers excellent ink release and solid area coverage for most daily tasks.
Specialty Geometries: Elongated cells perform brilliantly for heavy coating and varnish applications. They allow viscous fluids to flow smoothly. High-resolution (HD) geometries pack more cells into a smaller area. You need these 75° or 3D layered structures for ultra-fine text and premium label printing.
Balancing LPI and BCM dictates your visual outcome. You cannot guess these numbers. Highly porous substrates, like paper cups or corrugated boards, absorb massive amounts of water-based ink. They require a much higher cell volume to achieve solid coverage. Use the following matrix to guide your specifications.
Application / Substrate | Target LPI Range | Target BCM Range | Primary Outcome |
|---|---|---|---|
White ink & Solid coverage | 200 – 400 LPI | 6.0 – 10.0 BCM | Maximum opacity and thick ink laydown. |
Film & Flexible packaging | 300 – 600 LPI | 2.0 – 4.0 BCM | Balanced color density without smudging. |
High-definition CMYK & Labels | 800 – 1200 LPI | 1.3 – 2.2 BCM | Razor-sharp fine text and smooth gradients. |
Equipment managers face a recurring dilemma: buy new or rebuild the old. Making this decision requires a clear view of your operational finances and your production schedule.
Continuing to run degraded equipment drains your budget silently. High waste percentages and extended setup times destroy profitability. A new component requires a noticeable capital expenditure upfront. However, the immediate drop in rejected materials and ink consumption quickly offsets the purchase price. Evaluate your daily waste logs before rejecting a capital request.
You do not always need to manufacture a new core from scratch. The refurbishment process offers massive lifecycle extensions. A quality vendor strips the old surface, recoats it, and re-engraves the cells. This practice routinely extends the lifespan of the core three to five times.
Timelines matter immensely when planning maintenance. Expect a full refurbishment to take roughly 7 to 10 days. Machining a brand-new custom piece from raw steel or carbon fiber usually requires a strict 3-week lead time. Plan your downtime accordingly.
Criteria | Refurbishment (Recoat/Re-engrave) | Full Replacement (New Core) |
|---|---|---|
Financial Outlay | Significantly lower cost | High initial capital expenditure |
Lead Time | 7 to 10 business days | Approximately 3 to 4 weeks |
Core Condition | Requires an undamaged, balanced core | Solves deep internal bearing/core damage |
Sustainability | Highly eco-friendly material reuse | Consumes raw industrial materials |
Vendors cannot provide accurate quotes without precise data. Gather your specifications before you make the call. You need the exact OEM diameter and overall length. Note your specific bearing configurations and current core material. Finally, state your target LPI/BCM parameters and clarify your primary ink system (water, solvent, or UV). Missing any of these details leads to incorrect manufacturing.
A flawless manufacturing process means nothing if installation goes wrong. Safe handling protects your investment and ensures perfect alignment.
Improper handling destroys equipment instantly. Striking a new ceramic surface with metal tools causes microscopic fracturing. These fractures grow under pressure and ruin the print run. Poor alignment during installation creates uneven pressure. This miscalibration rapidly degrades the surface and can severely damage the printhead over time.
Follow a rigid protocol when swapping out a flexo roller. Consistency prevents accidents.
Preparation: Isolate all power to the press. Implement strict lock-out/tag-out (LOTO) systems. Stage the exact tools you need. Bring specific Torx drivers and heavy-duty non-abrasive lifting slings to the work area.
Removal: Carefully disengage the locking mechanisms. Slide out the worn component smoothly. Critically inspect the adjacent bearing housings and drive gears for sympathetic wear. Replace failing bearings immediately.
Installation and Alignment: Position the new component gently using slings. Secure the locking mechanisms and couplers firmly. Use calibration gauges to ensure absolute parallelism with the impression cylinder.
Testing: Conduct a slow-speed test run. Monitor the machine closely for unusual friction. Watch for tracking deviations or harsh gear noise. Only ramp up to full production speeds after verifying smooth rotation.
Maintenance defines longevity. A reactive cleaning schedule guarantees premature failure. Implement aggressive daily and quarterly protocols to protect your print quality.
Immediate cleaning prevents permanent damage. You must wash the surface immediately after a print run finishes. Allowing ink to dry inside microscopic cells creates an impenetrable crust. Operators must never use metal scraping tools to remove dried ink. Brass or stainless steel brushes destroy ceramic walls.
Integrate deep cleaning into your weekly schedule. High-volume environments require ultrasonic cleaning baths or specialized chemical flushes. These methods penetrate deep into the hexagonal cells. They dissolve hardened resins that daily wiping leaves behind.
Proactive teams do not wait for quality to drop. Advise your maintenance crew to implement a rigid 3-to-6-month auditing schedule. Use digital microscopes or specialized volumetric measurement tools. Track the actual BCM degradation over time. Documenting this data allows you to schedule the next replacement proactively, long before the press produces rejected materials.
Replacing your press components goes far beyond basic maintenance. It represents a strategic upgrade. Precise specification directly impacts print resolution, increases press speed, and forces waste reduction across your facility. Ignoring data-driven replacement schedules simply transfers costs from the maintenance budget to the scrap pile.
Take action immediately. Encourage your operations managers to conduct a Shore A Durometer or BCM audit of your current press lines this week. Consult directly with a tooling engineer. Ensure you perfectly match your LPI and BCM specifications to your most common substrates and ink systems. Precision guarantees performance.
A: First, rule out ink viscosity by checking your pH and temperature parameters. Once confirmed normal, use a digital microscope to inspect for severe cell clogging. Apply the basic troubleshooting rule: if colors appear chronically light, you have a volume (BCM) loss issue. If prints look heavy or smudge constantly, your resolution (LPI) is likely too low for the job.
A: Yes, in-house maintenance teams can perform the swap successfully. However, they must follow precise standard operating procedures and use specialized non-abrasive tools. Alignment calibration requires strict verification. Failing to set exact parallelism between cylinders results in uneven surface wear and premature equipment failure.
A: Uneven wear directly stems from poor installation realities. The most common causes include adjacent bearing failure or improper nip pressure settings. Additionally, a misaligned chambered doctor blade scraping aggressively against one side of the ceramic surface will destroy a new profile within days.


